
You want to paint a beautiful landscape painting, but you don’t know where to start? I will lead you through the process of how to paint a digital landscape painting in this very helpful tutorial.
It’s possible, believe me, you can do it, even with less experience!
And if you are a total beginner, think about that: Even the greatest were beginners once. So be proud stepping in their footsteps.
It is generally not that difficult, but you can face different obstacles on your way to the top mountain of your painting. I will keep it short, because you surely haven’t planed to read the whole night, how to paint!
-> Let’s start with the first step!
1. Using good Reference AND in the right Way
First of all have a general idea of what you want to paint. Is it a landscape painting with mountains, or you love the idea to paint the sea, or just a beautiful grass field with flowers and trees.
After that go to look for reference.
You are a lucky one, cause not like in old days, where you had to go and find a special place, at a special time, with the right weather conditions, you just have to go to Mr. Google and search for your landscape you want to paint.
That easy!
What? You say that is not a good idea, because these images can’t be painted cause of copyright infringement? You missed the point.
We are searching of course just for images to be inspired from!
You will take your inspiration from it, the mood, the colors and also your motivation, cause you somehow fell in love with the beautiful landscape reference image you’ve just found yesterday, isn’t it so.
So, start to see it like that: you want to go from “Man, I have no idea what to paint.” to “Yes! This is it. Mom, look I want to paint SOMETHING LIKE this, call daddy and tell him!!!”
Oh, and by the way, it’s nice to be kind and later when posting your finished digital painting on social media tell people the source of your beautiful inspiration. But, let’s be honest, if you have changed the overall setting of this image completely, it’s yours. So in this case, this step is your free choice.

2. Arrange your own Composition
So take from this image, as I have mentioned the idea, the colors, the mood, the inspiration and motivation to paint something like this by your own.
The aim is, to use every information, but not the same placement of the objects of your reference image, plus to have some additional ideas.
By the way, what about combining image parts of different images, like taking this landscape here and the sky of another one.
You are the artist!
So, you have to change it to such a degree, that this new painting is yours. Is this difficult? Not at all. Simply change the trees from here to there, the stones, the grass, the mountains… shift them like you would do, when you want to rearrange your room – Change the placement of the furniture.
It’s time for a new view! It’s your creation.
Test around till you like it. Don’t overdo it and take care of the rules, like the correct sizes of the trees – foreground trees / distant trees etc.
At the end, flip the canvas – your digital canvas – and check the view from this new perspective. Correct once again and drink a coffee before you go to step Two. Or, better don’t drink a coffee, it can ruin your energy level quickly – drink a tea instead. 😮
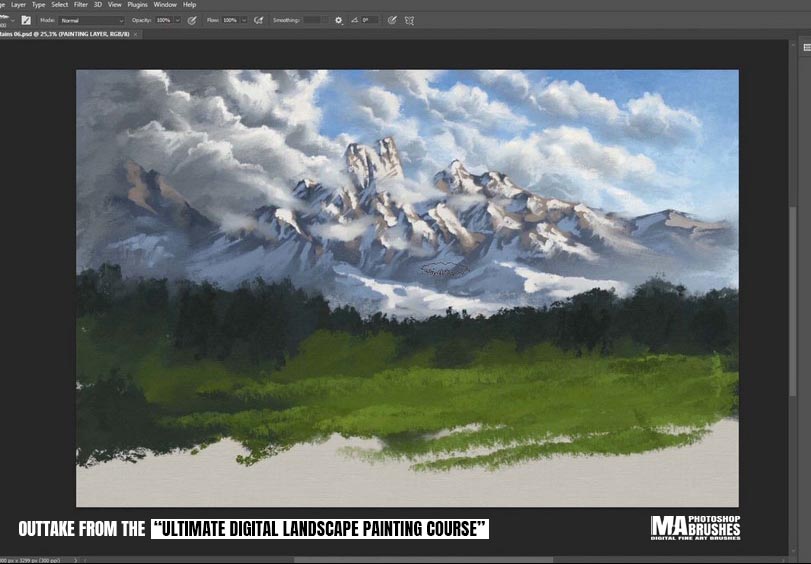
You can see me painting two beautiful landscapes, where I’m showing you step by step how I’m painting these in my “Ultimate digital Landscape Painting Course” -> Link
3. Take the Colors in your Palette – Create a Color Palette
OK, let’s make this point extra short. You like what you see now? Take the colors, now.
Yes, now, because it is very nice to have the most important colors already there in your palette. Select the color picker and pick up the main colors of the image. You can choose to go just for every different basic color and if you like some extra, take some shadow tones or highlights of them also.
Maybe you want also to name your colors, good idea, that’s helpful for later.
By the way, there are two options of creating a color palette:
The one is to pick them up and save it in your color panel, but you can also simply create a new layer on the reference image and paint there directly with your brush the colors and there you can name them very nice. Later, you can copy and paste this layer to your main painting, so you will be able to pick up directly from there. This is the method I prefer.
4. Find your Digital Painting Brushes by Testing
Now, before we start, you should test your digital brushes. You are surely a digital painting freak and so you have around 34.982 brushes in your collection. That’s great. But do you have the right ones?
Now it’s time to find them.
Why now? We didn’t even start yet…
Do it before you start your painting, and you will have a great feeling of flow while you are digitally painting your landscape. And we all know, something like a flow is a good thing to have. So, yes, it takes some preparation.
Imagine you go out for a plain air painting, and you haven’t with you the perfect workspace and tools. Isn’t it so, that the plain air painters have prepared their trip very carefully. Later then, they will enjoy their painting, and so you will, when you take care of these steps.
Joy = Good Results !
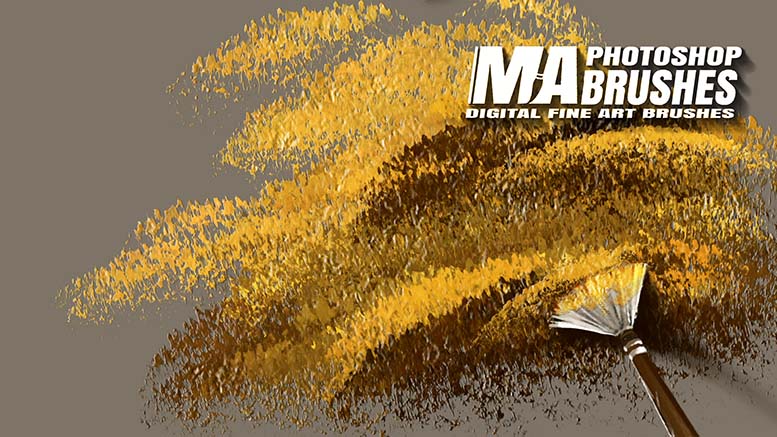
And by the way, don’t tell me you haven’t yet heard that there are real fan brushes for digital landscape painting out there. No? Check these brushes (Link) and you can surely remove your other 72.982 from your collection!
We have now:
The reference
The right composition
The correct colors
The right brushes
The smelling tea cup
The urge to start (fingers are trembling; you start to sweat!)
Now, take a deep breath – say to yourself: “I can!“
Of course you can.
OK, the question, if it will be a good painting, will remain, but what if painting isn’t about good or bad, but more about fun?
Let’s tell you the truth: By having fun, there comes beauty. A positive mood and mind set will bring you to the best results, so what’s the point in being negative? Enjoy your painting, enjoy the process, try to stay positive throughout your painting.
You can use positive affirmations like: I am a tomato, or, I am loved by my tea cup…
I want to tell you something now: Did you ever thought about it, that a painter has to go through such a hard time throughout all his painting, till it reaches the 90% of accomplishment, where he/she will finally is able to really see, if all the work was worth it.
What does this mean?
YES! This will take much strength from you. So, it’s good to have it, or if you don’t have it, train to build that muscle. It’s the main thing that will bring you forward in everything in life not just in painting.
The whole world is trying to build their biceps muscle, but what about building inner strength?
Go for it!
By the way, I want to write a blog about that, check my blog from time to time, maybe it’s out.
“Creating is the way that you get in sync with the Universe.” (Will Smith)
So, painting can demand everything from you. Train your character to be strong, wise, calm, patient. Be stronger than your doubts and your fears. The internet is full of paintings half finished. Being strong will bring you automatically to the top 25%.
And with strength there will come also patience, that is another great characteristic of a good artist.
Those two will lead to coolness while painting, this will lead to the flow. A great comfortable feeling, that you can do it, even if it gets hard.
So have them both: Strength and patience.
Know, that you can not criticize your painting all the time, cause either way, you have to wait till the end to really understand where these different layers of strange forms, lines and crazy colors will lead to – Maybe to a cumulative beauty!
Take a deep breath – You can do it
5. Start the Digital Landscape Painting with the Sketch
You may think in landscape painting, sketching is a fun part where you smash your ideas somehow and somewhere wildly on your canvas, but isn’t it so, that there are also some basic rules that we have to be aware of?
For example, you can check your sketch by following rules:
– Where is the horizon line
– How should the perspective lines of buildings like barns correctly float to it
– How should the river float to these lines
– How should the street float to it,
– How big are trees in the foreground and how little should they be in the background
Maybe think also at this stage where the light / sun is coming from.
Do a great start, so that you are feeling good/right when going to the next step of blocking in the colors. There should be never a need to hurry up. This is not the school where they don’t give you time to finish like a good worker your tasks…
If you feel now something is not good, go for it and change it now.
You can see every outcome very good already in the sketch. Trust your eyes!
6. Place the first colors (block in) in the Background
You will be shocked now hearing from me the following: The most important teaching was everything you have read till now. Believe me that these steps in front are the essential steps.
And isn’t it so, that most people will start with this step 6 here, because they saw it like that in a nasty time-lapse YouTube video?
Test it for yourself and see what will work better for you. I’m very sure, that everybody that follows the first steps will come to a better result than somebody that starts here.
That is why these following steps will have fewer instructions now. You really have done the “hard” work. From here you will block in colors and do details later. That’s it. Your painting will look good, because you have thought about first the composition and second the right colors. These are the very foundations of every painting, by the way, either you paint digitally OR traditionally.
Now, how to block in the colors? – First in the background!
Typically, I would suggest to you to start with the sky. That’s classical, and it’s for me also the best method for the digital painting of landscapes.
Use a smeary brush for that, maybe a mixer brush if you have Photoshop. If you have the MA-Brushes, go for fan brushes or the mixer brushes named frost in the 3rd category. They are just perfect for skies and also for building landscapes that are full of trees, like gardens.
7. Block in the Rest of the Colors with a Good Digital Brush
You have already picked the right colors up; you have already the correct brush in your “hand”, either a texture brush of your choice, a “fan”-brush like the ones of the MA-Brushes set, or a thick brush, that will help you to apply the colors correctly, Or you prefer a smeary brush. Having the MA-Brushes, go once again for the frost brushes for example. This will give you a very nice loose first touch and the colors will perfectly merge together in a magic way.
And if you haven’t got the MA-BRUSHES then of course you know already which will be the best choice of brush you can take now out of your own brush set.
Fill in now the colors in a way, where you will start with either the main color or the shadow color of the landscape/objects.
I prefer very much to start with the dark regions of a landscape painting, so the scenery will reveal itself the more I will put later on the middle tones to the (digital) canvas. That’s also a lot of fun, and I’m enjoying it very much.
Wait with the highlight tones till the end, so you have something to paint in detail. Painters often use these highlight tones for that.
-> If you want also to learn about the best brushes for digital painting (my view after around 15 years of experience as an concept artist in the entertainment industry), then go read also my new article about which are the best digital brushes for painting. (new tab)
8. Do the Detail Work – Everywhere? No!
Of course, this depends on your style. You can go for details every inch by inch…
But believe me, I have seen incredible paintings where there are very smooth and loose parts and other parts have very nice details, so the eye will catch these very much.
Think of a very special oil painting where you have trees in the background. If you paint them in detail and also the foreground tree/trees in details, can cause conflicts for the eye. This is a problem many digital painters face and many of them don’t realize why the painting is looking so much overloaded, and maybe they don’t even know how to fix this problem, by not knowing/realizing it.
A very beautiful way of painting is to choose a softer way of painting those background trees and set the foreground tree as a more detailed object before them; perhaps with beautiful highlights of the sun hitting it softly. This will immediately help to let this foreground tree pop out more, and it will be an eye-catcher, and it will look unique, very special.
And you know what?
It was much easier for you to paint, so it’s a double win situation!
9. Collect all your Energy to Finish your Painting
Don’t leave it unfinished, my dear art friend! You wouldn’t eat a pizza without cheese, right? 🙂
So many painters have not the will power and strength to finish their paintings, that’s a sad thing.
So, just by finishing your painting with every needed detail or correction it’s needing, you will have a plus of 30% towards the standard and a plus of 1000% of feeling being 100% satisfied with your landscape painting. Wow, that was a cool calculation, isn’t it so?
Why building a whole house and leaving out the roof?
The last steps take much from you, but there is no sense in painting a painting and not finish it. I have seen this very often and also have been there myself. There is something special about ending a painting. It’s a special fear, or let’s call it blockage. Maybe it’s the fear to not destroy it now – if so, hey!
There is a history of the steps in digital painting, you can use it, don’t worry, go back and do it again. Or go back to a previous save file. Oh, good to mention it: Use different versions to go back to your painting. I do use version numbers like 00, 01, 02, 03… This works best for me.
So collect all your powers and finish this thing, and please not quickly, but take your time for these final steps. Yes, it is worth it!
Flip your canvas and check every view once again. Wherever you feel like something is wrong, DO THE CORRECTION! Your intuition has given you this information, use it. It is not your cruel teacher that wants to slap you for your faulty painting, it is your inner voice helping you to have the best painting ever. Listen to it.
10. Do some Color Corrections – also add Highlights or Shadows
If you like, play now a little with the overall color tones. Use the color balance tool of Photoshop or whatever program you are using for your digital art.
What I also love to do is to duplicate my main painting layer. Change now on this new layer the colors and now use a big sized round, smooth brush to erase this layer. So there will be a color variation of the old painting and the new changed painting and this could look great.
Play around!
Often I see people asking for the best one of their 2 or 3 color variations of their painting. I feel like the truth is, that they are all good. Don’t focus too much here. If your painting is good, it is not so much about the color variations. It could also make you headaches, be warned!
-> Go also to read my detailed step-by-step article about how to paint a digital portrait painting! (new tab)
Time now for a break and time to step a few steps back of your desktop. Really you will see the painting the next day with other eyes and if you find something to correct, do it. I have done often the mistake to post a painting and the next day I saw every mistake I made. Strange thing, isn’t it?
So, be wiser than me and wait a day.
Happy painting, happy posting!
And maybe you want to share this blog, or you want to take a look to my digital art channel on YouTube!
See you there.
Much love and happy paintings!
Michael
Watch my Video Preview of the
Digital Landscape Painting Course:
More Digital Painting Blogs for digital Artists:
- 10 Easy Steps – How to Paint a Digital Landscape (Digital Painting)
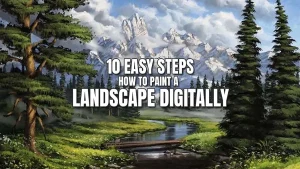 You want to paint a beautiful landscape painting, but you don’t know where to start? I will lead you through the process of… Read more: 10 Easy Steps – How to Paint a Digital Landscape (Digital Painting)
 - 10 Easy Steps – How to Paint a Digital Portrait Painting
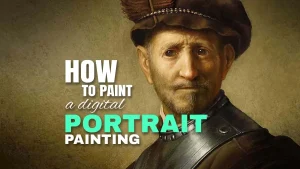 Welcome, dear digital artist!If you want to learn how to paint a digital portrait painting, this is a great place for you to… Read more: 10 Easy Steps – How to Paint a Digital Portrait Painting
 - Which Are The Best Brushes For Digital Painting?
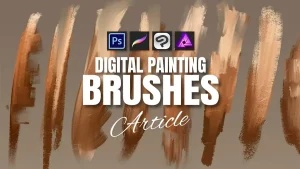 Now which are the best brushes for digital painting? We are talking about digital art brushes, that will bring you the maximum benefit… Read more: Which Are The Best Brushes For Digital Painting?